Showing posts with label sewing. Show all posts

Monday, May 10, 2021

Using a Passion as Sewing Inspiration


Each person who sews and creates often finds that the creativity for what they sew comes from their own passions, or the passion of a friend or family member.  The following pictures share some passions and loves of some friends and family members - and hopefully will suggest some inspirations to other sewists to create some unique and meaningful items for themselves or others.


Gifts do not need to be elaborate - it is the connections and meaning embodied in each gift that make it special.  The detail of the monogram was the key in making this simple cover for a diary.

Nothing consumes this young athlete's time more than playing baseball.  This quilt recognized his love.  The quilt was a substantial investment in time and $$; but well worth the delight it brought to him.

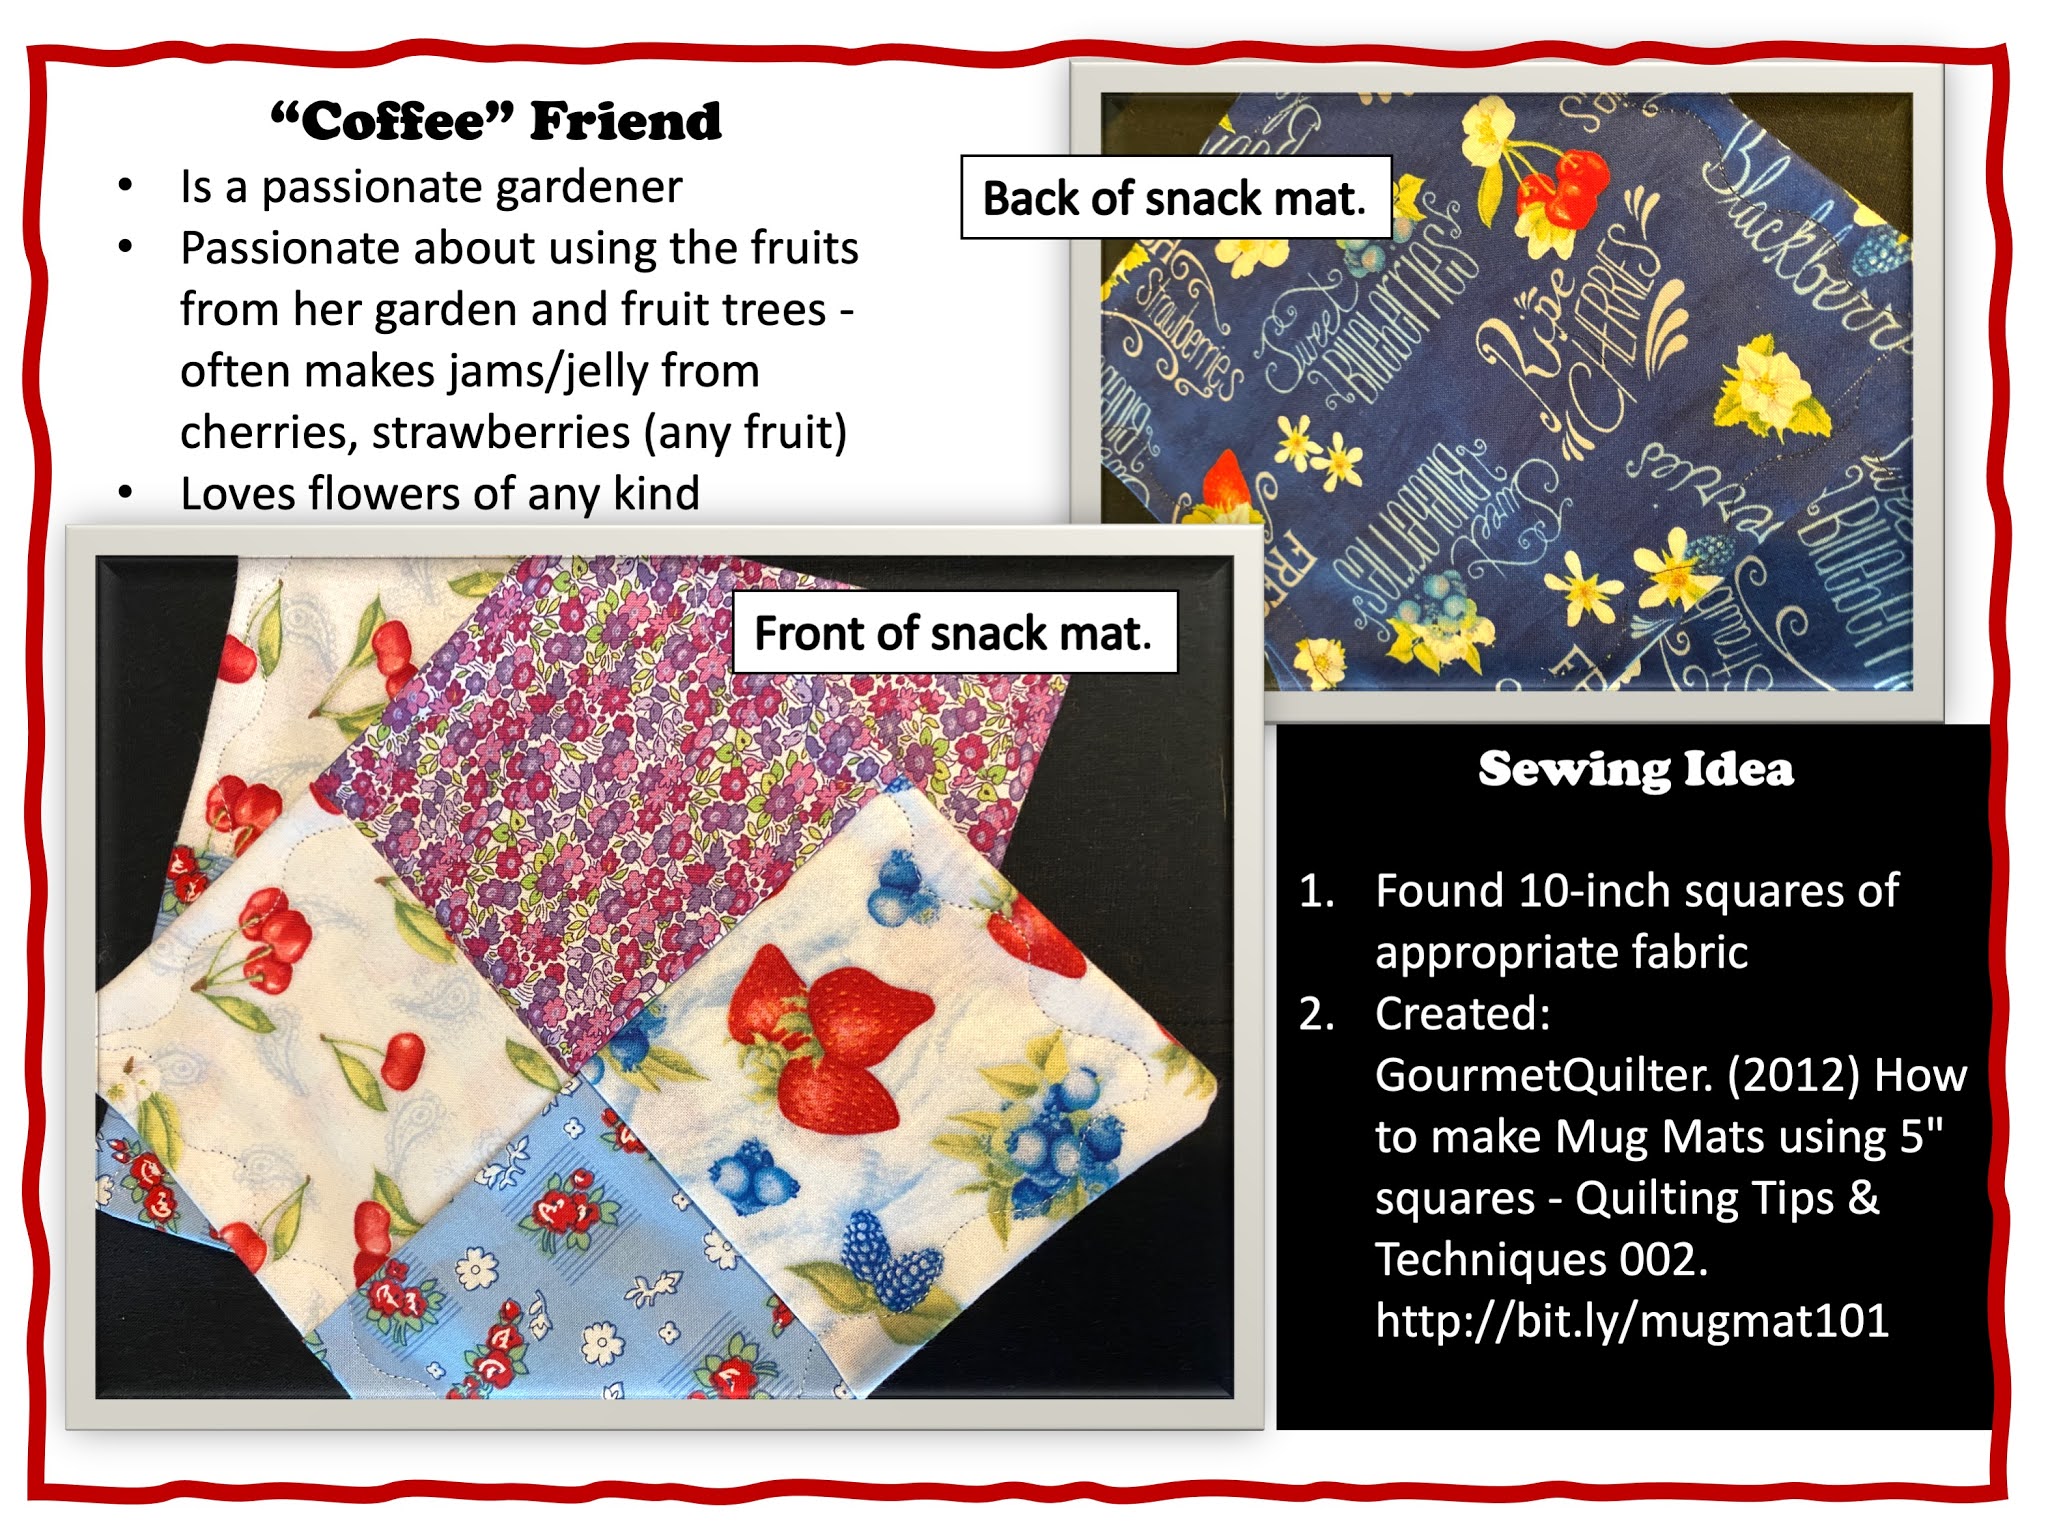
A simple gift, but the fabric acknowledges the familiarity and attention to detail to show that you really did create the gift with the individual in mind.

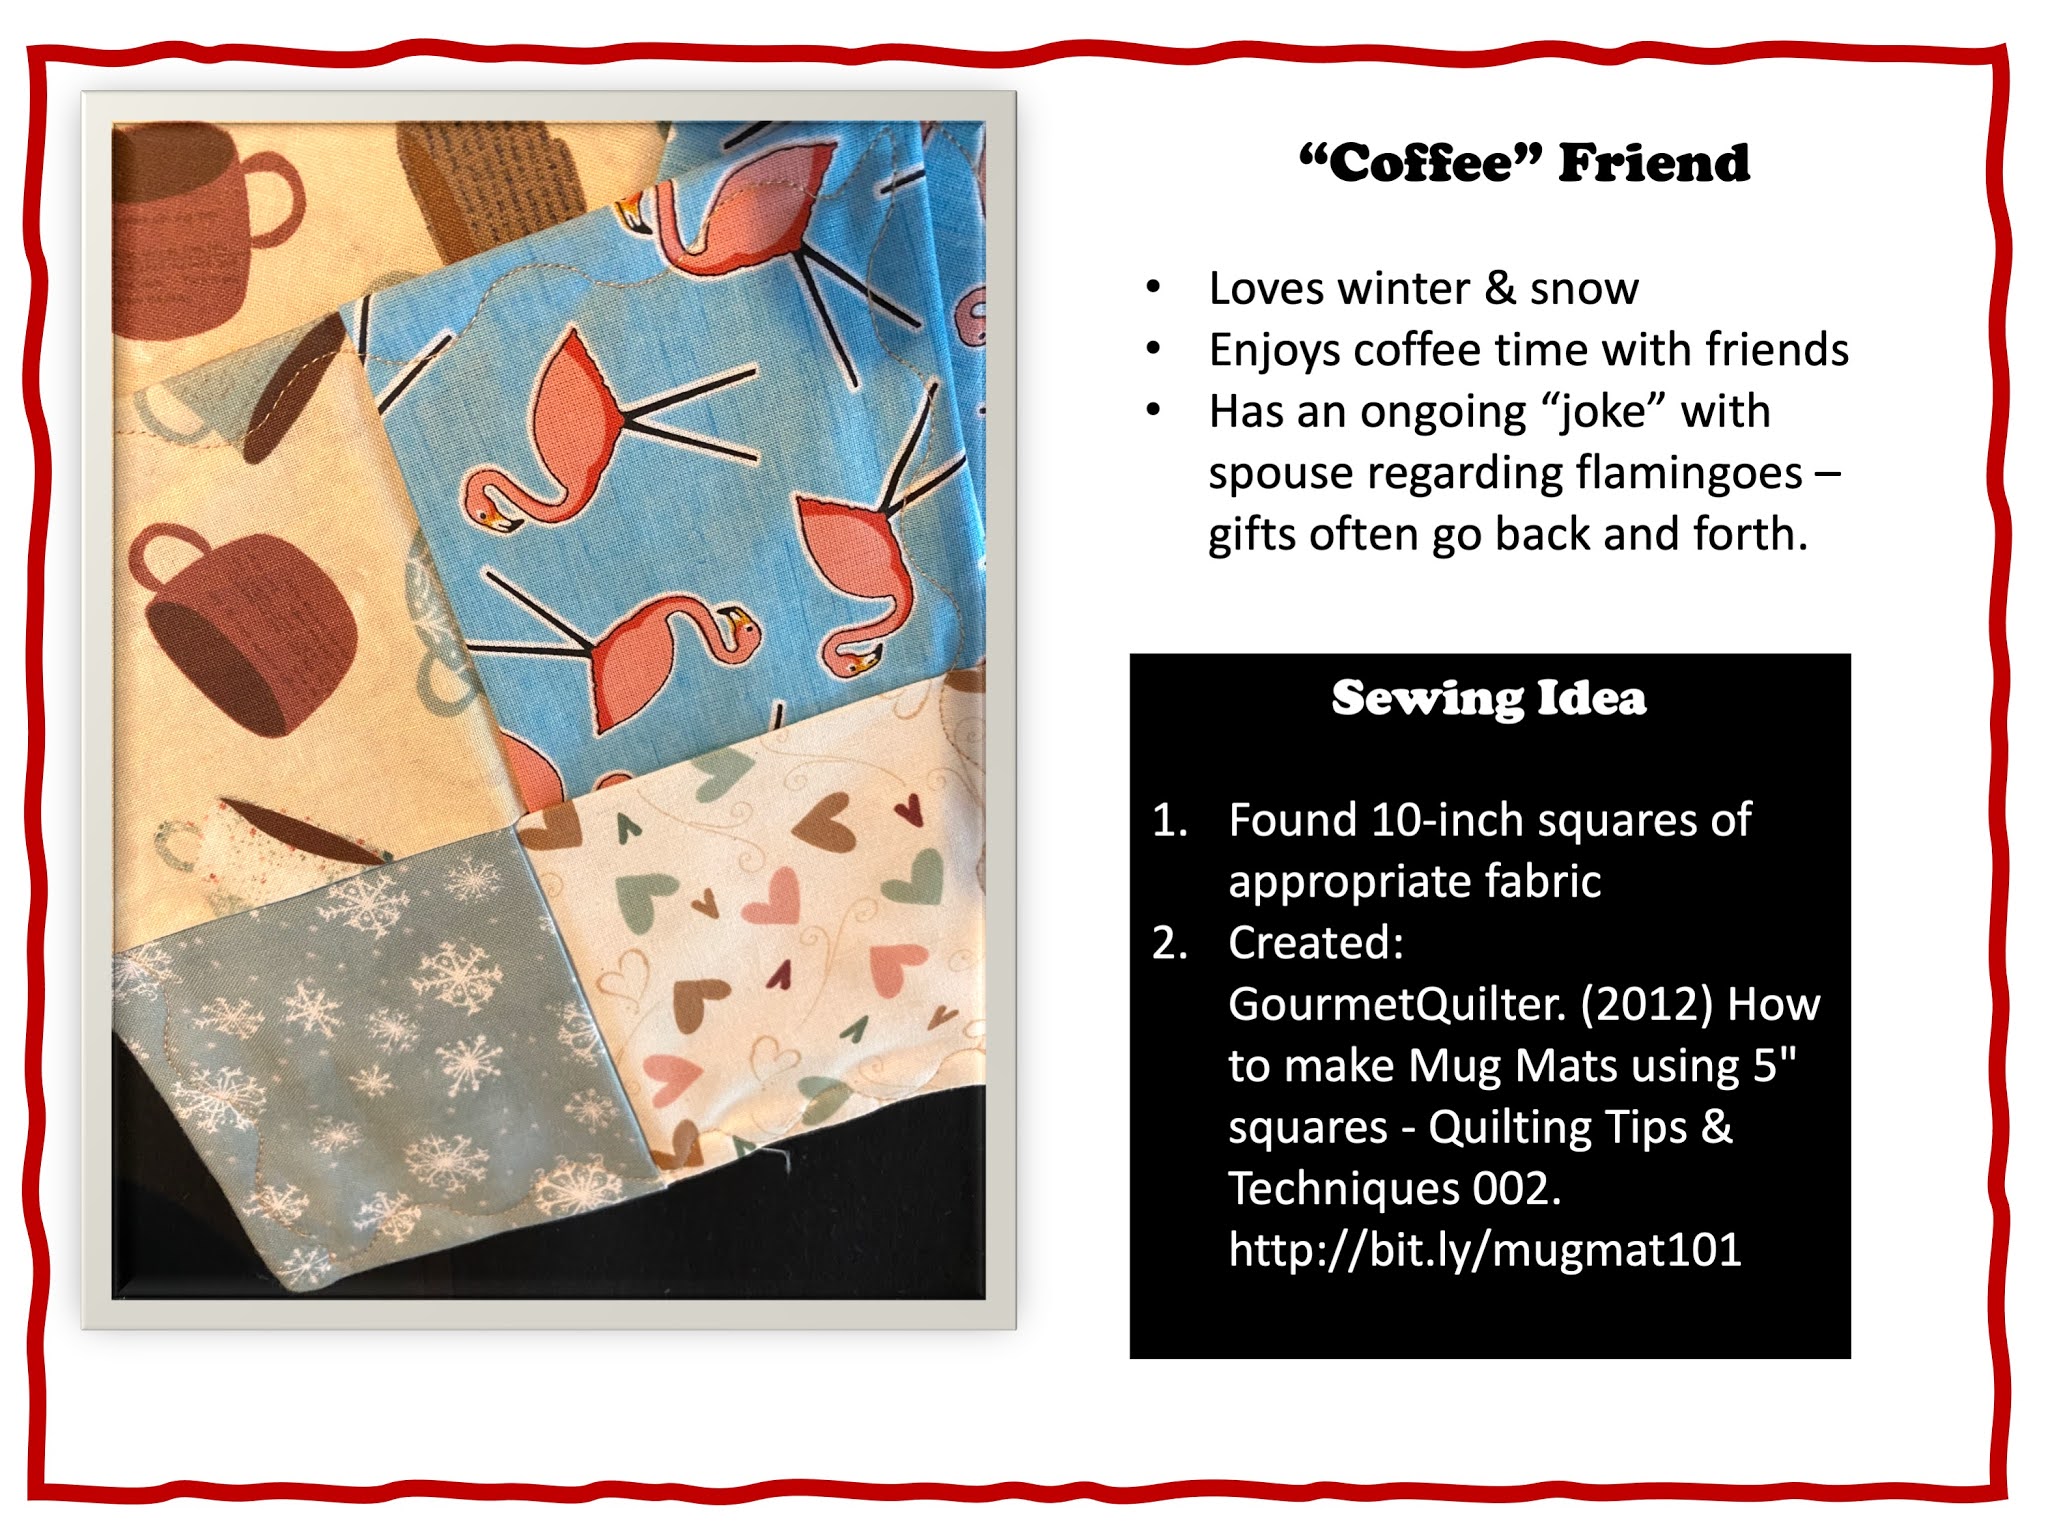
The fabrics here make for an entirely different focus and acknowledges a family joke (the flamingoes) that will bring a smile to the two who share the joke throughout the year.

Sometimes a gift can honor a professional passion and serve a very practical use.  This tote not only recognizes this professional's passion for sharing information about Laura Ingalls Wilder but gives her a thematic way to carry her handouts, and small demonstration items used in her presentations.

The parents of this young child are passionate about documenting the experiences in his life.  An annual photo album includes pictorial representations for experiences he has during the year.  And throughout the year  the memories continue to be meaningful as items such as the pillowcase (and book) are shared and used over and over.

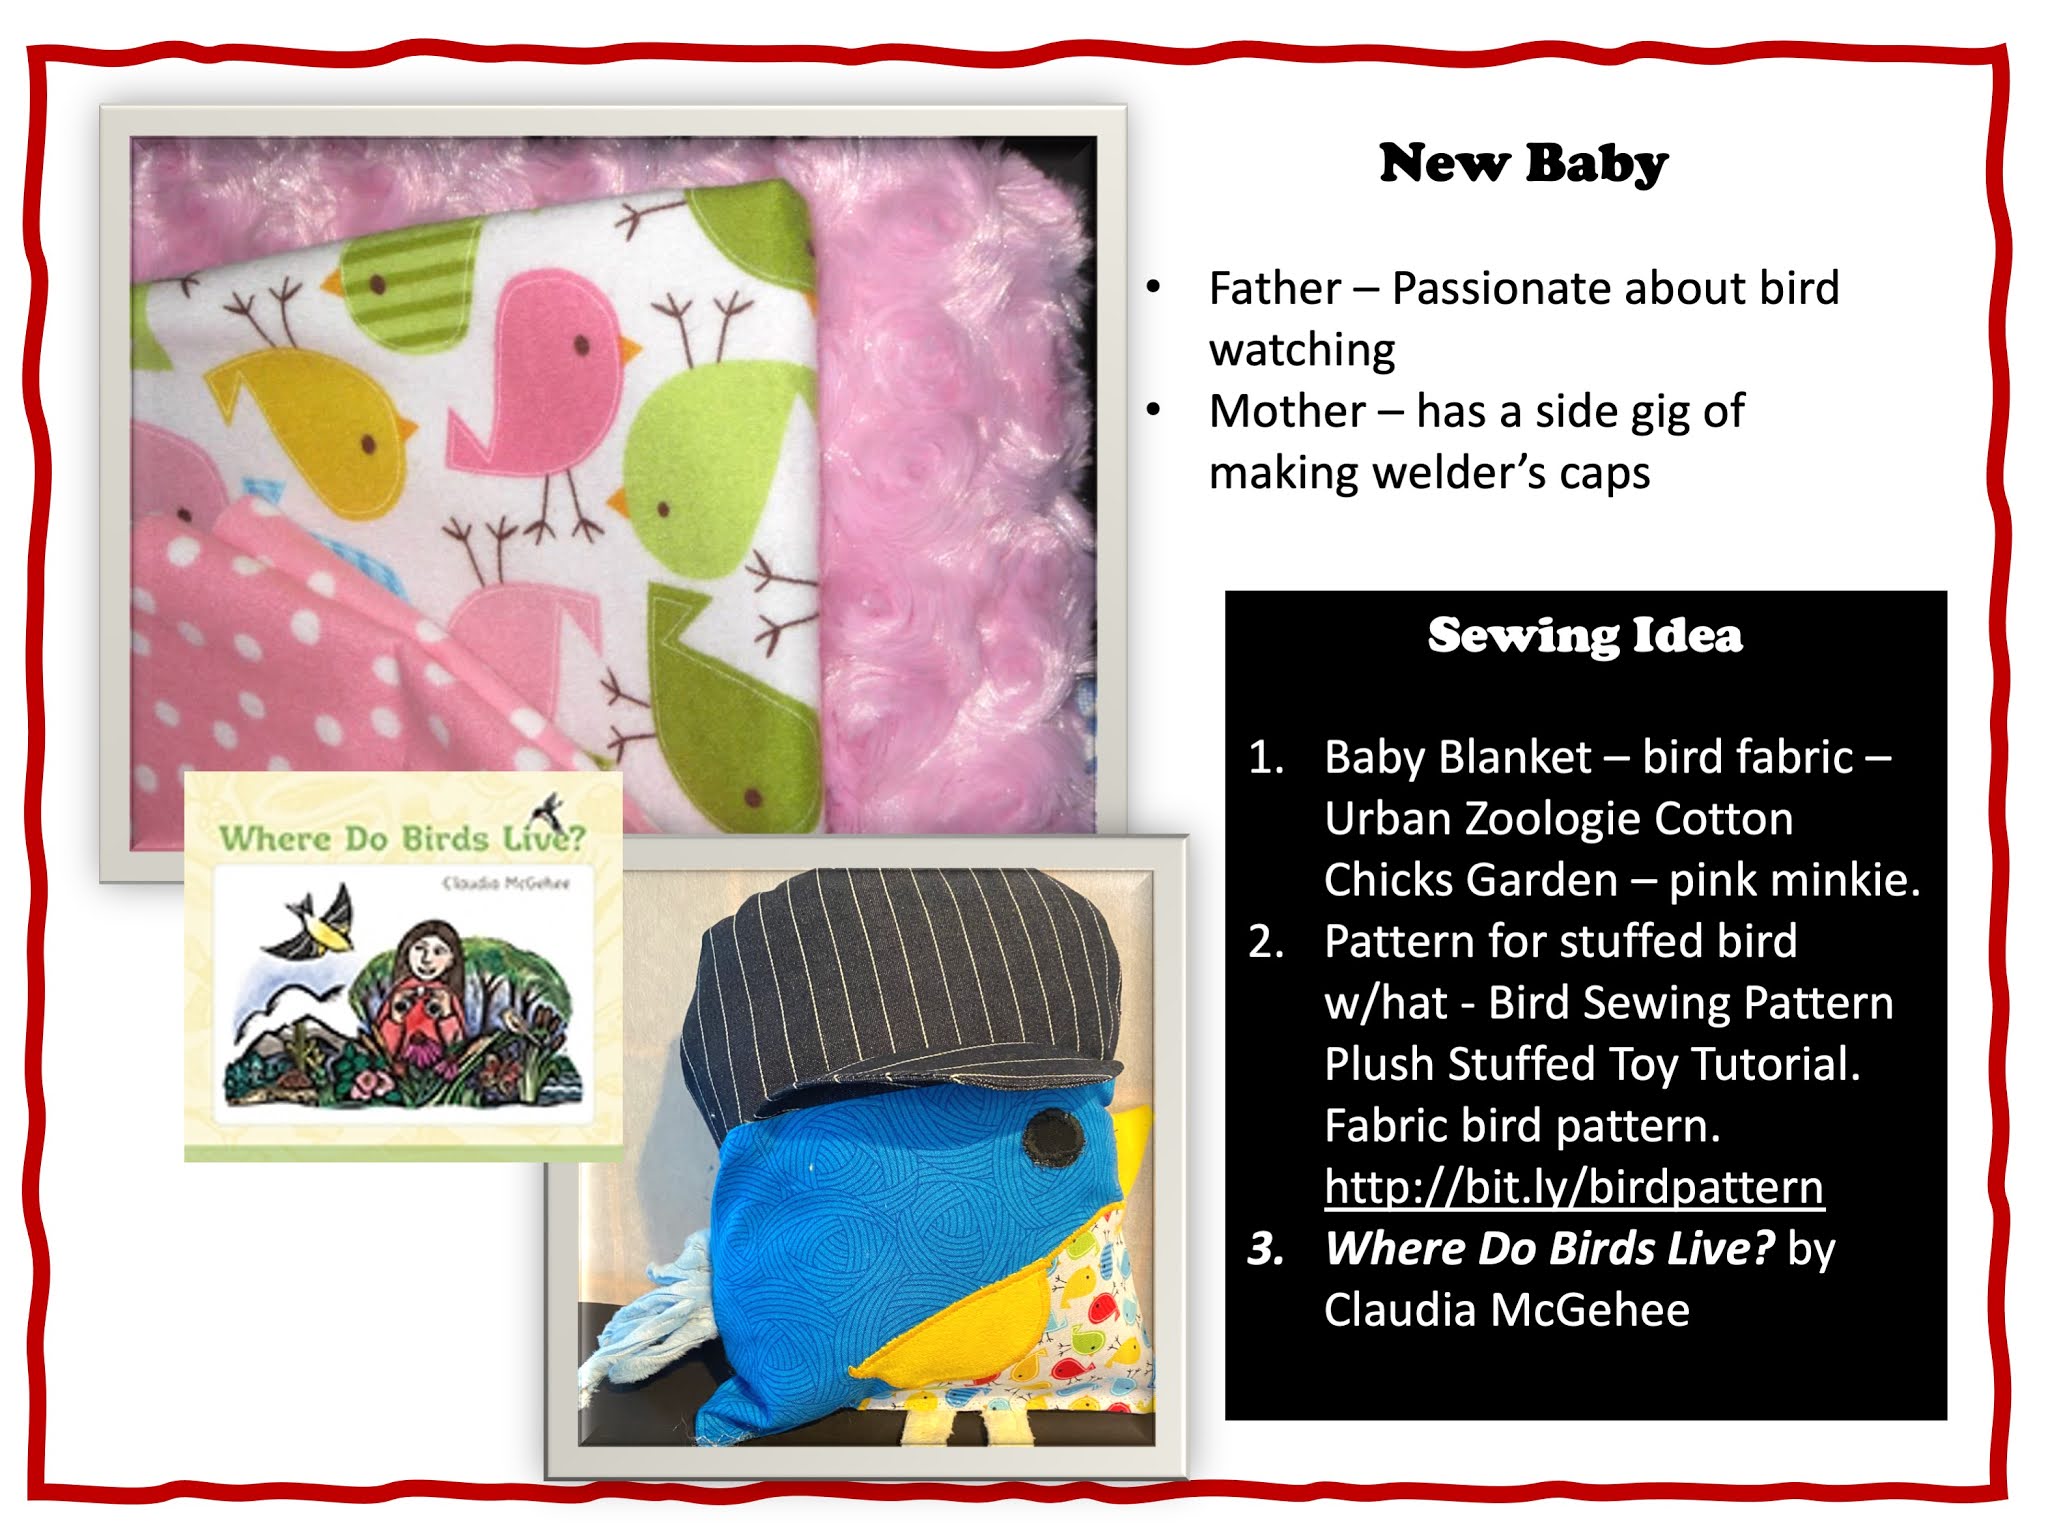
This gift for a new baby honored both the father's passion and the mother's side gig.  Many other themes could have been used, if one had known the nursery theme, and so forth but without that knowledge this theme seemed to have a fun connection.


Choosing to make a meaningful connection can bring both a fun search for fabric and a way to connect it to a friend's passion.  Rose is known for her cooking and her hospitality so the apron and tea cups were just the connection to make to her name.

Using a panel highlighting a special character, object, or motif is a quick way to share a passion.  One does not always need to use the fabric as someone else dictates.  These book panels can be used as stand-alone quilted pictures.

~~~

These sewing projects were all inspired by a passion or love for a particular activity or motif that someone special possesses.  While these examples tend toward the home decor or accessory line; inspiration for clothing can be built on interests as well.  Consider a garment in a recipient's favorite color, or showcasing an interest - perhaps a cover-up apron for a chemistry teacher (using fabric with the table of elements); or recycle a thrift store item to contribute to the conservation efforts of your community.   Look forward to a special occasion and zero in on a special dress to be worn and make a coordinating accessory to go with that special dress - perhaps a faux fur cape with a lining to match the dress, or an evening purse to accent the dress; or a tie or vest for a companion.  

What's the passion (or love) that inspires you?

~~~

Cite this article: 
McElmeel, Sharron.  (2021, May 15).  Using a Passion as Sewing Inspiration.  Green Frog Gifts (Blog).   http://bit.ly/inspiration-sewing.


Tuesday, July 7, 2020

Paper Crane Quilt Block

Inspired by the paper cranes sent to me by Tony Pope, I decided to create a paper crane quilt block.  This block could be incorporated into a quilt, become the center piece for a pillow top, a place mat, table topper, or a table runner.


This is my block, and this is how I made it.
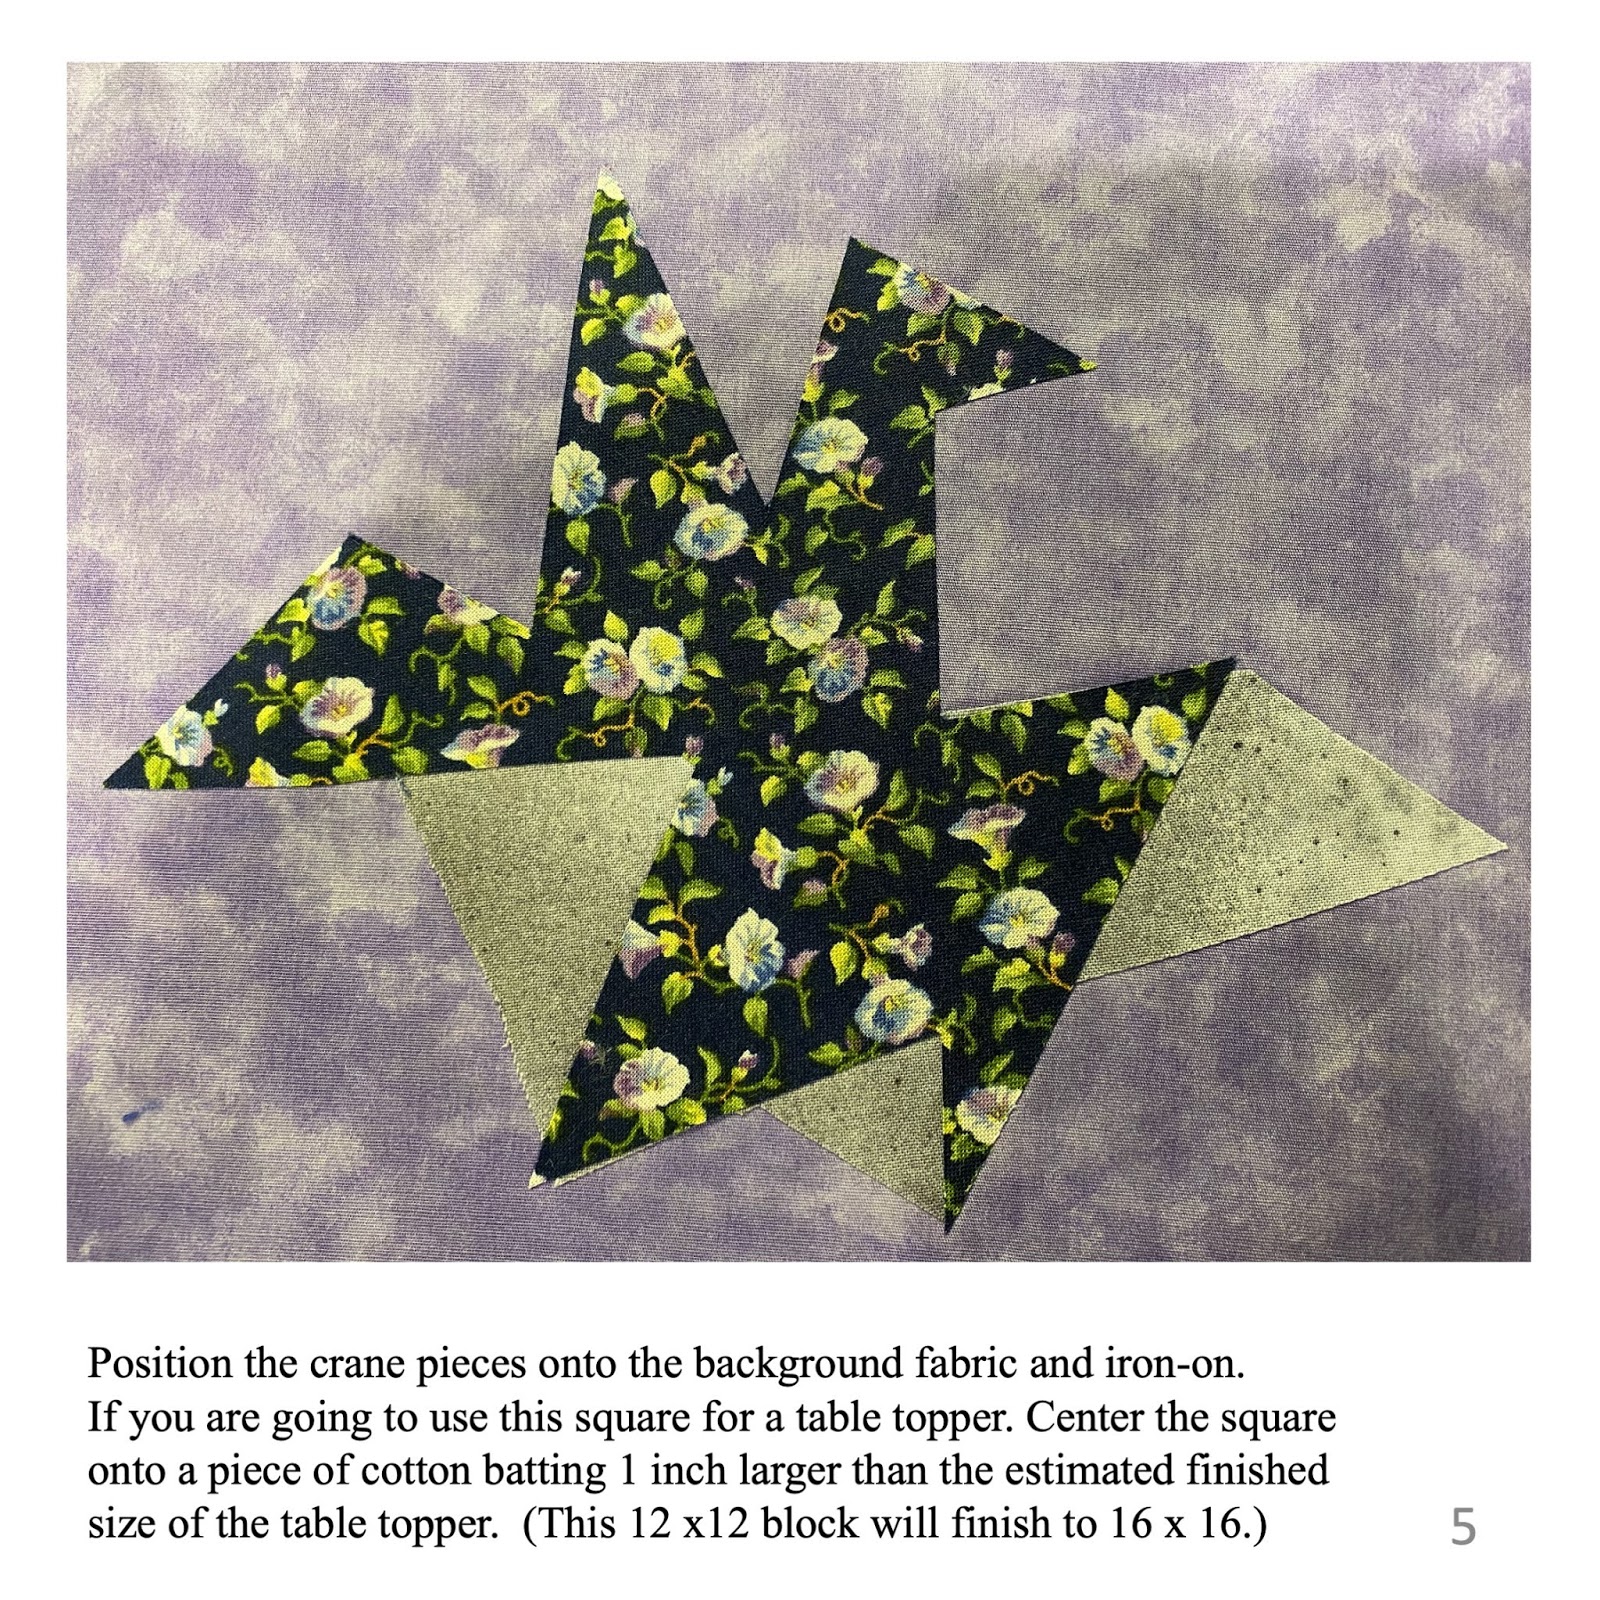
Choose your background fabric and cut your square, octagon, or any shape/size you wish.  If you are going to use this block for a table topper, place mat, or other small piece you may want to cut an appropriately-sized piece of batting for the underside of this block.


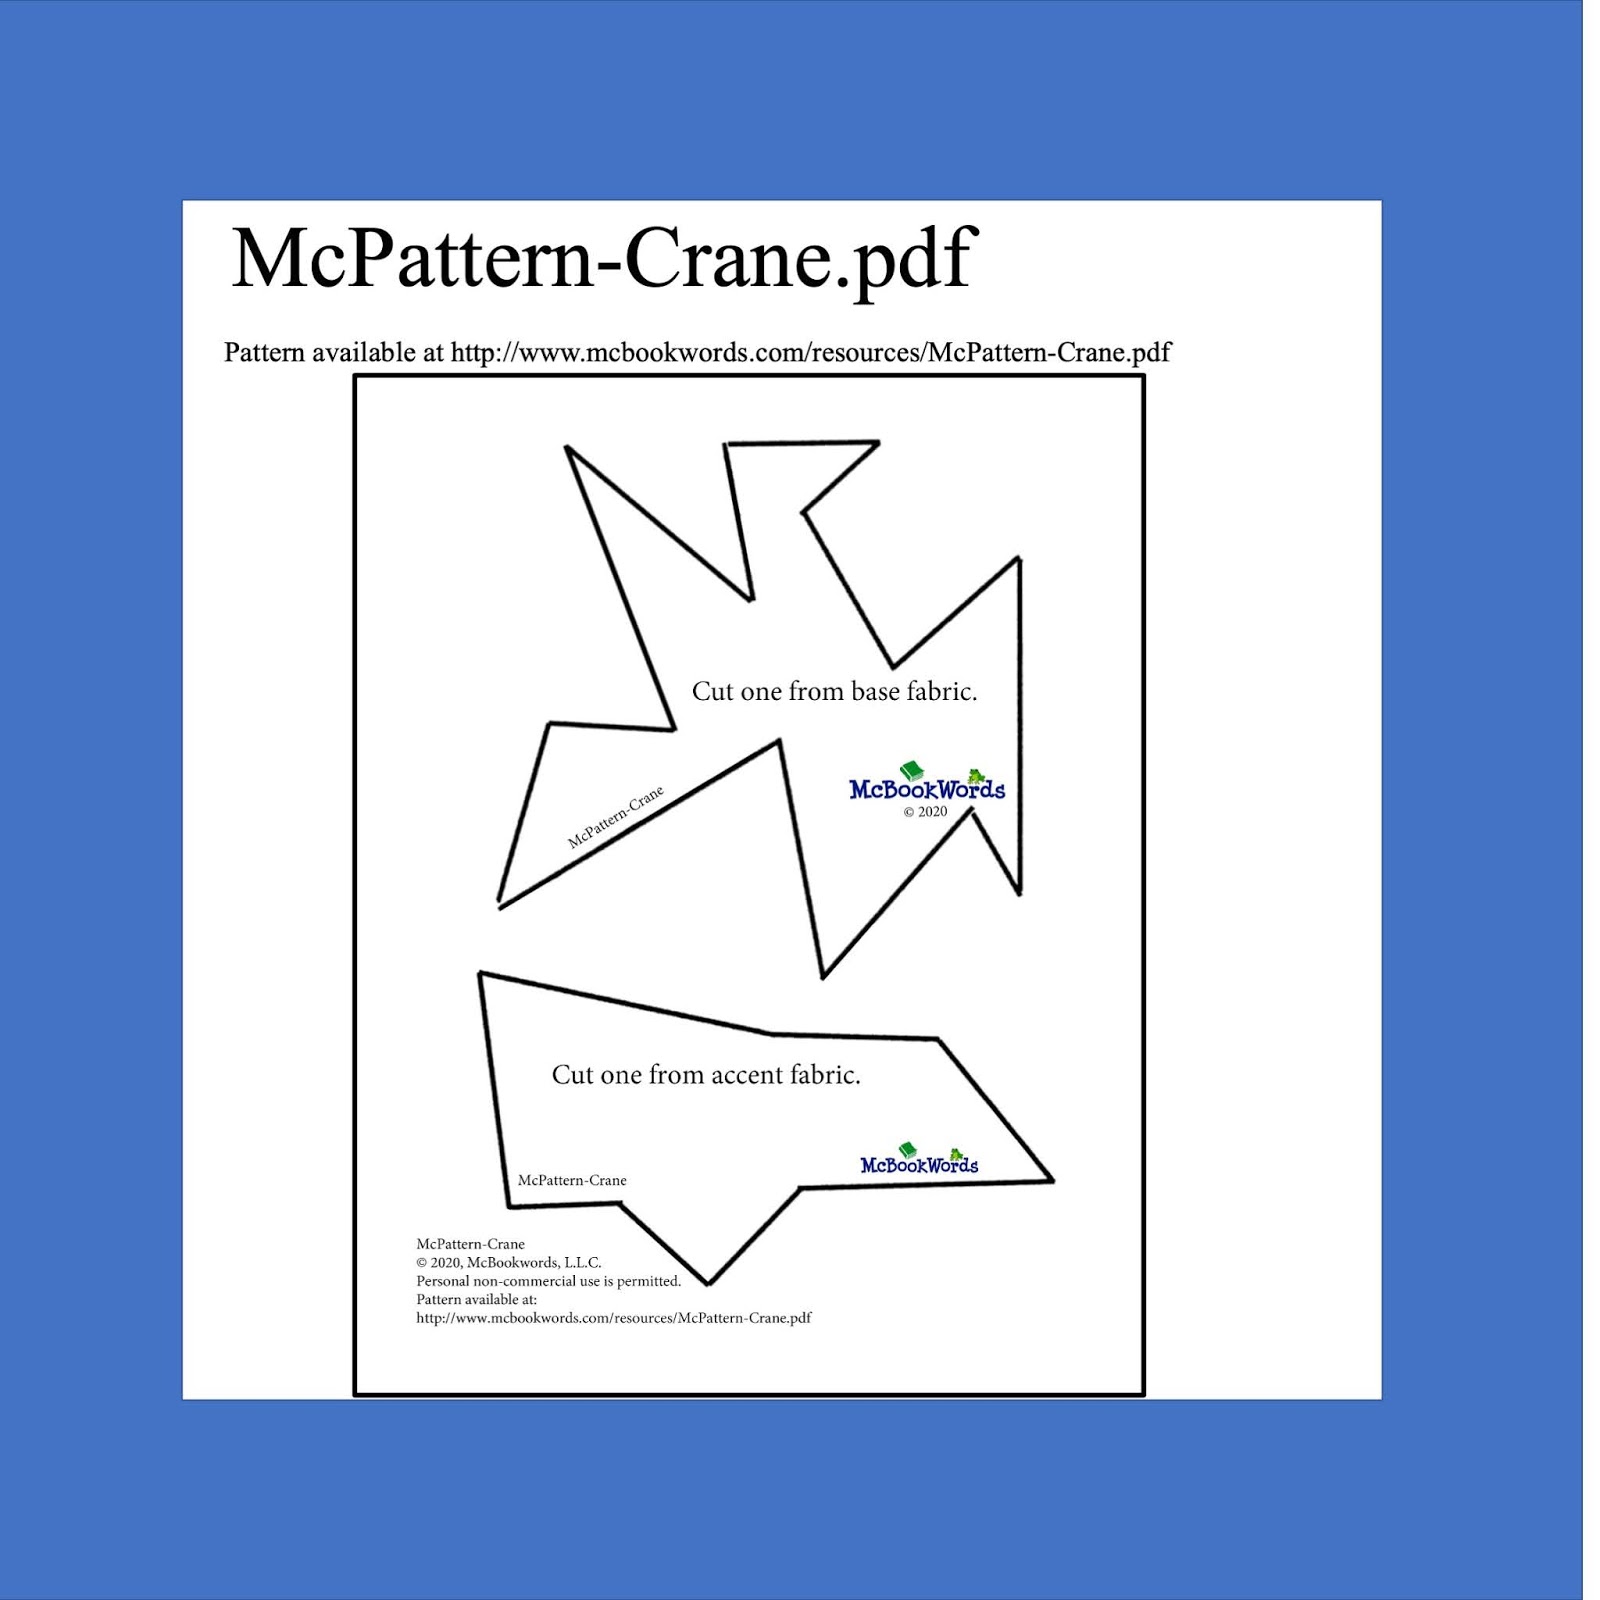
Your background fabric may be any color/pattern you wish but we suggest a contrasting solid or small pattern.  If your crane will be a small pattern or solid color you may wish to choose a more dramatic background.  The darker three sections of the crane (shown in slide 2) may be a highly contrasting pattern or a solid color.  However, if you like all the pieces may be one pattern and if so just use the above slide as your pattern - enlarge it to the size you wish the crane to be, follow the fusing instructions in slide #4 below and then stitch the folds as shown in slide 6.

(PDF) www.mcbookwords.com/resources/McPattern-Crane.pdf
Coordinating scrap material can be utilized for creating the two crane pieces.  If you wish your crane to be larger than 9 x 10 inches simply enlarge both pattern pieces to the size you wish to have.  The remaining directions will be the same regardless of the size of the pieces.


The stitching will emulate the folds on a traditional folded crane.
Borders can be added to the finished block to enlarge its size or to create a pillow top, or any type of table accessory.

Example of a finished table topper where this crane block was used as the focus block for a "Wonky Block" with a 2 inch border around the edge of the block.  "Big Wonky Quilt Block - Easy Quilt Block Tutorial.  Find at http://bit.ly/bigwonkyblock.

McElmeel, Sharron (2020) Paper Crane Quilt Block. McBookwords. http://bit.ly/papercraneblock.

-----------------------------
Green Frog Gifts -- unique gifts -- sewing and cooking

Sunday, July 5, 2020

Strawberries - Strawberries

All Things Strawberry

-----------------------------
Make a table topper or table runner using a basic block designed to highlight a focus fabric.  This fabric block is created with a strawberry fabric and 1/2 triangle squares.  For the basic square you will need four 1/2 square triangle squares to create one block.

Get the instruction page by clicking on this page.


Sew the four resulting blocks back together with a 1/4 inch seam allowance.  Then create your block or running by adding borders, additional blocks.  Be creative and create something unique.


Use your "new" table topper to feature strawberry dip.  The recipe (and books to read) at http://bit.ly/honey-gingerbread

Or make Little Red Hen's Magnificent Strawberry Shortcake -- find the recipe at http://bit.ly/LRH-shortcake -- and enjoy 

Or make some strawberry rhubarb jam - find out more at http://bit.ly/rhubarbtime.
If you make this jam and want labels for your jam jars, this image can be used on Avery labels (12 circle labels to a page) to create a page of labels (2.1 x 1.9).  Print, and affix to the top of the jar lid.
-----------------------------
Green Frog Gifts -- unique gifts -- sewing and cooking

Sunday, July 22, 2018

Sewing: Using a Pressing Hem and Casing Guide


Watch this video at http://bit.ly/hemguides.
The Crafty Gemini explains how to use (and to make your own hem pressing template). We’ve created our version of the hem template for you.


                     For a downloadable pdf to click here.  Once the PDF is downloaded, print landscape                             style at 80%.  Double check the measurements for accuracy as sizing shifts in images                           etc. as they are downloaded to different computers.


To use the hem pressing guide, place the card stock on the wrong side of the fabric, fold over the fabric to the pressing line and press it with the iron.


Using the guide should result in crisper and more accurate hems or casings.

© 2018 Green Frog Gifts


Enjoy sewing creatively.
Visit Greenfroggifts on Etsy for the latest choices.Order cookie cutters, aprons, and baker's cloths from Green Frog Gifts -- unique gifts -- many $10.00 or under.


Saturday, March 31, 2018

Spring Time Is Just Ducky: Sewing and Books

... ...

One of my favorite classic titles is Ducky by Eve Bunting with illustrations by David Wisnewski (Clarion/HMH, 1998).  I actually have the original art work for the cover of this book, in my "art gallery."  The title is still available in paperback.  Two of my other favorites are by my friend Toni Buzzeo, Dawdle Ducking, with illustrations by Margaret Spendler (Dial, 2003).  There is a sequel, Ready or Not, Dawdle Duckling (Dial, 2005).  If you are interested in ducks you may want to go to Toni's site and download her "Teaching About Ducks" list of sites about ducks https://www.tonibuzzeo.com/EDUCATORS_files/teachingaboutducks.pdf 

But meanwhile these books gave me inspiration for transforming a set of plain white towels into a housewarming gift for a family with a small child.  This set is child worthy.

This is a standard set of towels: two bath towels, two hand towels, and two wash cloths.  I got these at Target.  They are soft and the bath towels are generous in size (30 inches x 54 inches) and 100% cotton.


We have a pattern that you can access here.
There is a list of items needed, on the graphic to the left.  The large (JUMBO @ 1.5 inches wide) rickrack is difficult to find but you can order it from the Ribbon Retreat in a variety of colors.  You might find it locally for less.


Using the HEATnBOND LITE® we stabilized a piece of yellow plush large enough to cut out two ducks and two wings.  Remove the HEATnBOND from the back of one wing, iron it on one duck.  Do the same for the orange beak. Then position the duck on the towel, and press the duck onto the towel.  Use a satin stitch (orange thread on the top and match the towel color in the bobbin) to go around the beak.  Replace the orange thread with yellow and satin stitch around the wing.  Then while the yellow thread is in the machine use that thread to blanket stitch around the duck (skip sewing around the beak as that is already adhered to the towel.
Once the duck is on the towel we are ready to add the bubbles and the water (rickrack).  I used the ends of three different sized thread spools as the guide for cutting out three different sizes of circles.  Before beginning I stabilized a strip of blue plush (the width of the piece of fabric), approx. 44 inches long and 2 inches high.  On the white backing of the stabilized fabric I drew the circles and cut 2 large ones, 2 medium, and 2 small ones for each towel.  I cut four circles for the hand towels, and three for each of the washcloths.  Place the circles randomly, in an upward stream - largest at the bottom.  Once the placement pleases you, remove the adhesive backing, iron the circles/bubbles onto the towel, and then stitch them down, using matching blue thread as the top thread, and the towel matching color in the bobbin.  Use a blanket stitch to sew these circles/bubbles down onto the towel. Then sew on the circles/bubbles onto the wash cloths and the hand towels.
The final sewing step is to sew on the rickrack.  You will need approximately 1/2 yard for each bath towel.  Sew the light blue rickrack first - seam it on one side, turn and pin horizontally across the towel.  The rickrack should be positioned in such a manner that the duck appears to be swimming in the water.  When you reach the other side, Fold a piece of the rickrack under and top stitch so frayed edges do not show.
Then replace the light blue thread with dark blue to match the dark rickrack and sew on the dark rickrack in the same manner that you did with the light blue rickrack.  Position the dark blue rickrack in such a manner that it almost interlocks with the lighter piece.
The final sewing item is to create the eye on the duck.  Put black thread in the top and use a stitch that you would normally use to sew on a two-hole button.  Repeat the stitching so the black thread makes a significant eye on the duck.  Repeat with the second duck.  Finally...

The very last thing you should do is to find some great ducky books to tuck into the package.  In addition to the classics I cited above here are a few more that you might consider.


Additional titles suggested by readers

Of course the very popular and classic title, winner of the 1942 Caldecott Award.


If you have a great ducky book to add to this list, please cite it in the comments section.
###


Visit Greenfroggifts on Etsy for the latest choices.
Order cookie cutters, aprons, and baker's cloths from Green Frog Gifts -- unique gifts -- many $10.00 or under.